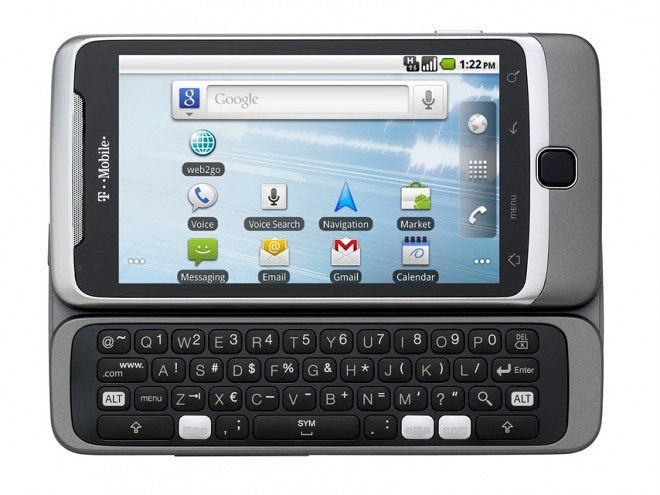
Anxiously awaiting theOTA update for your T-Mobile G2? Well, there’s a manual way to do it, but if you used the Google Goggles Remover that we posted yesterday, the update won’t install correctly. Thankfully, there is a fix for this and it’s easy enough as long as you read the instructions.
If you HAVE NOT applied the Google Goggles fix, you can manually install the G2 update like this:
- Download the file here
- Rename the file to “update.zip” (If you don’t see the file extension, assume it’s already in zip format and just name the file ‘update’)
- Transfer the file to the root of the SD card (in no folder)
- Turn G2 off
- Turn G2 on by holding power and holding volume down. Once it boots, you’ll be given a white screen with Androids skateboarding. Wait for the green text to flash on the screen, and then by using your volume up and down keys, go to recovery and press the power button,
- The phone will reboot itself into recovery, and you will see a black screen with a phone and a red triangle with an exclamation mark in the middle. We need to see the text in the recovery, so at the same time press the power button and volume up. It may take a few tries.
- Once the text appears, using the volume rocker, navigate to Apply sdcard:update.zip
- Let it install and reboot your phone. You’re good to go.
Those who HAVE applied the Google Goggles fix have bit more work cut out for them, as they need to completely revert back the original ROM, which will erase everything off of your phone. We suggest that you back everything up using MyBackup Pro.
It’s even better if you’re rooted, as the application will save App data if you allow it. After backing up your stuff, get your command prompt ready, navigate to the folder you have the ROM and extracted fastboot files in and do the following:
- Download the 1.19 stock ROM from
- Download fastboot from here
- Extract the fastboot zip to the same directory as the ROM
- Turn your G2 on with the action button held (fastboot mode)
- Type ‘fastboot-windows oem rebootRUU’ (case-sensitive, replace windows with mac or linux as required)
- Type ‘fastboot-windows flash zip PC10IMG_Vision_TMOUS_1.19.531.1_Radio_12.21.60.09b_26.02.01.15_M2_release_149459_signed.zip’
- Let this finish, then boot up and apply the OTA update manually as per the instructions at the top of this page.
When flashing the ROM, it may give you an error and tell you to (‘please flush image again immediately’) repeat the last line you typed (fastboot-windows flash zip PC10IMG_Vision_TMOUS_1.19.531.1_Radio_12.21.60.09b_26.02.01.15_M2_release_149459_signed.zip), and it should be good to go.
Note that once it’s done being flashed, you need to manually reboot the phone yourself (I pulled the battery). Once it’s fully booted up, throw in your sign-in details and then you can apply the update manually (how-to installation instructions above).
That should do the trick!
Much thanks to PaulOBrien for getting this up and running for everyone. Props!
Let us know how you’re doing in the comments or if you’ve run into any problems.
[Via: MoDaCo]

